Apple Device Self-Signing Guide
Lyricify Mobile is currently not available on the App Store, so it needs to be self-signed and installed using sideloading tools.
This article introduces two common methods:
For non-Apple Developer Program members, Apple’s free developer signing usually has the following limitations:
- The application signing is valid for 7 days, after which it needs to be renewed; otherwise, the application will not open.
- A single Apple account can install a maximum of 3 sideloaded applications simultaneously.
Before You Start
Section titled “Before You Start”Regardless of which method you choose, it is recommended to prepare the following:
- A Windows PC or Mac.
- A stable data cable to connect your Apple device to your computer.
- An Apple Account registered with an email.
- The Lyricify Mobile
.ipainstallation package downloaded from GitHub Releases.
If you are using a Windows PC, you also need to install iTunes and iCloud.
Which Installation Method to Choose
Section titled “Which Installation Method to Choose”Method 1: Sideloadly
Section titled “Method 1: Sideloadly”Suitable for the following situations:
- You want to complete the installation as quickly as possible.
- You prefer to complete the entire installation process on your computer.
- You can accept occasionally connecting to the computer for subsequent renewals.
Method 2: LiveContainer + SideStore
Section titled “Method 2: LiveContainer + SideStore”Suitable for the following situations:
- You are already using SideStore or are willing to accept slightly more complex initial configuration.
- You want more flexibility in installing and managing
.ipafiles later.
Method 1: Install Using Sideloadly
Section titled “Method 1: Install Using Sideloadly”This section is written by Tiger.
Step 1: Connect Device and Import Installation Package
Section titled “Step 1: Connect Device and Import Installation Package”Open Sideloadly, connect your iPhone/iPad to the computer using the data cable, click the IPA icon, and load the .ipa file.
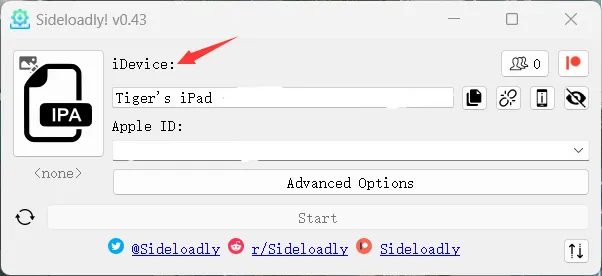
Note:
- The first time you connect, the device will prompt whether to trust this computer; select “Trust.”
- After a successful connection, your device name will be displayed in the
iDevicesection.
Step 2: Log in to Apple Account and Install
Section titled “Step 2: Log in to Apple Account and Install”Fill in your Apple Account information in the Apple Account section. After clicking Start, follow the prompts to enter your password and complete verification. Once signed successfully, Lyricify Mobile will automatically install on your device.
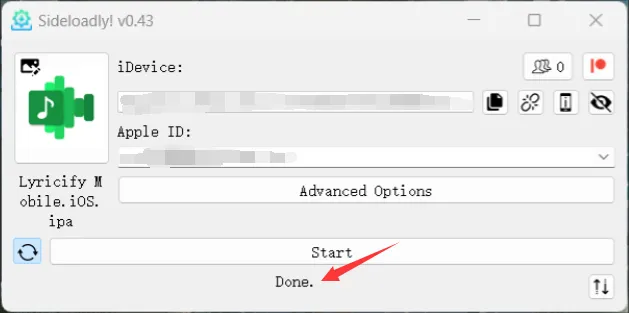
During login, a two-factor authentication prompt may pop up; complete it as instructed.
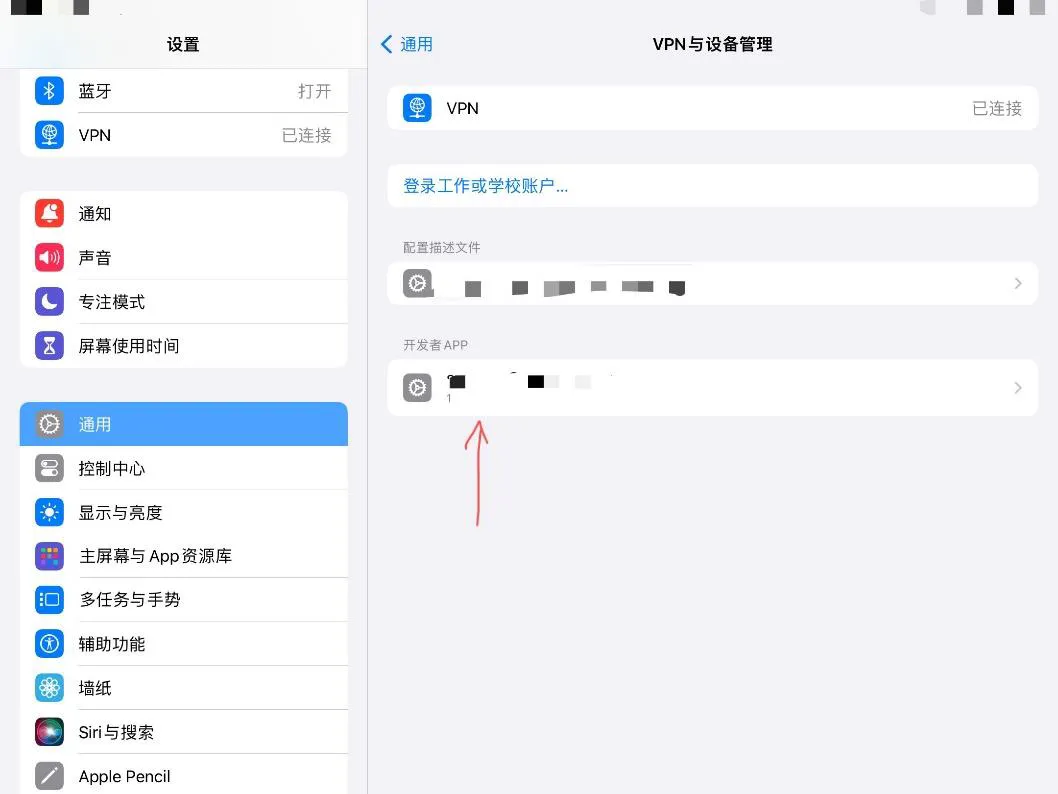
Step 3: Trust the App and Enable Developer Mode
Section titled “Step 3: Trust the App and Enable Developer Mode”After installation, you need to trust the developer app first.
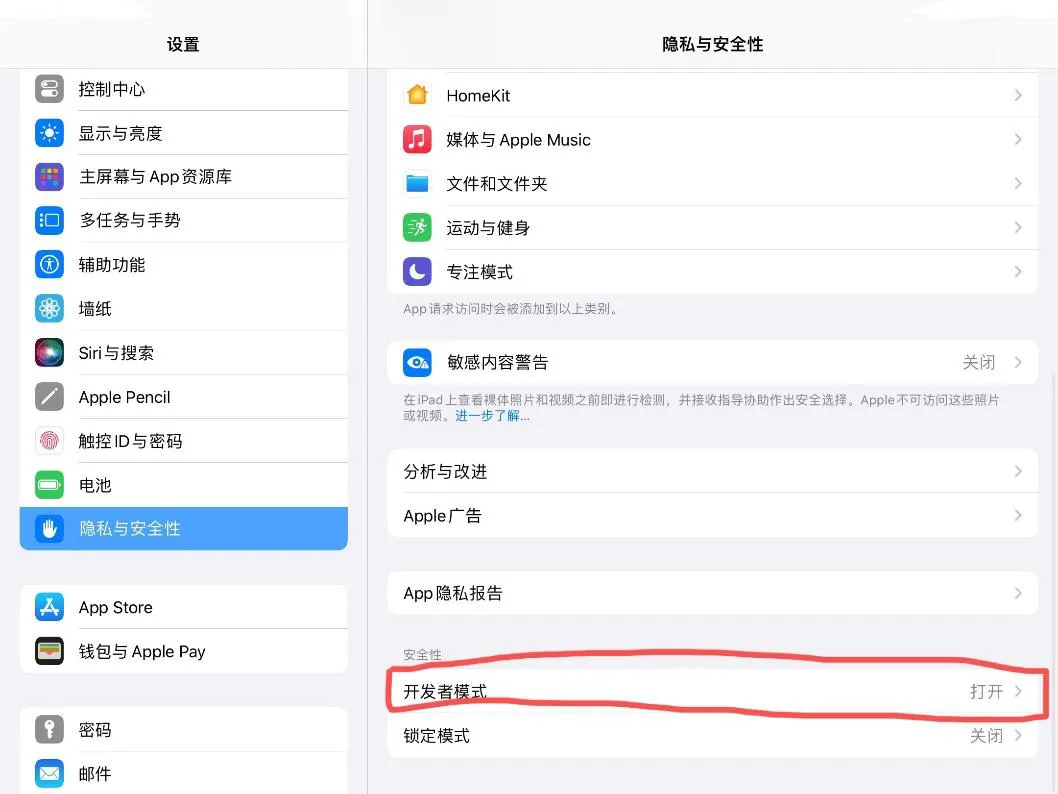
Then, please enable developer mode and restart the device as prompted; after rebooting, confirm that developer mode is enabled again.
Handling Errors During Signing
Section titled “Handling Errors During Signing”If you get stuck at Step 2 during the signing process, you can try the following methods:
- Completely exit iTunes and confirm that its related processes are closed in the task manager.
- Go to the
C:\ProgramData\Apple Computer\iTunesfolder. - Rename the
adifolder toadi.bak, or delete it directly. - Reopen Sideloadly and try signing again.
Renewal Instructions
Section titled “Renewal Instructions”The signing validity of this method is usually 7 days.
It is recommended to keep the refresh icon to the left of the Start button turned on, so that when Sideloadly is running, and the device is connected and on the same Wi-Fi network, it can automatically renew.
Method 2: Install Using LiveContainer + SideStore
Section titled “Method 2: Install Using LiveContainer + SideStore”This section is written by WingChunWong.
Step 1: Download and Install iloader
Section titled “Step 1: Download and Install iloader”Download and run iloader according to your operating system.
Step 2: Enable Developer Mode (iOS 16 and above)
Section titled “Step 2: Enable Developer Mode (iOS 16 and above)”If your device is running iOS 16 or higher, you must enable developer mode first:
- Open
Settings->Privacy & Security. - Scroll to the bottom, find
Developer Mode, and enable it. - Restart the device as prompted, and confirm it is enabled after rebooting.
Step 3: Install LiveContainer and SideStore
Section titled “Step 3: Install LiveContainer and SideStore”- Launch iloader.
- Connect the iOS device to the computer, unlock the device, and select “Trust this Computer.”
- Log in to your Apple Account.
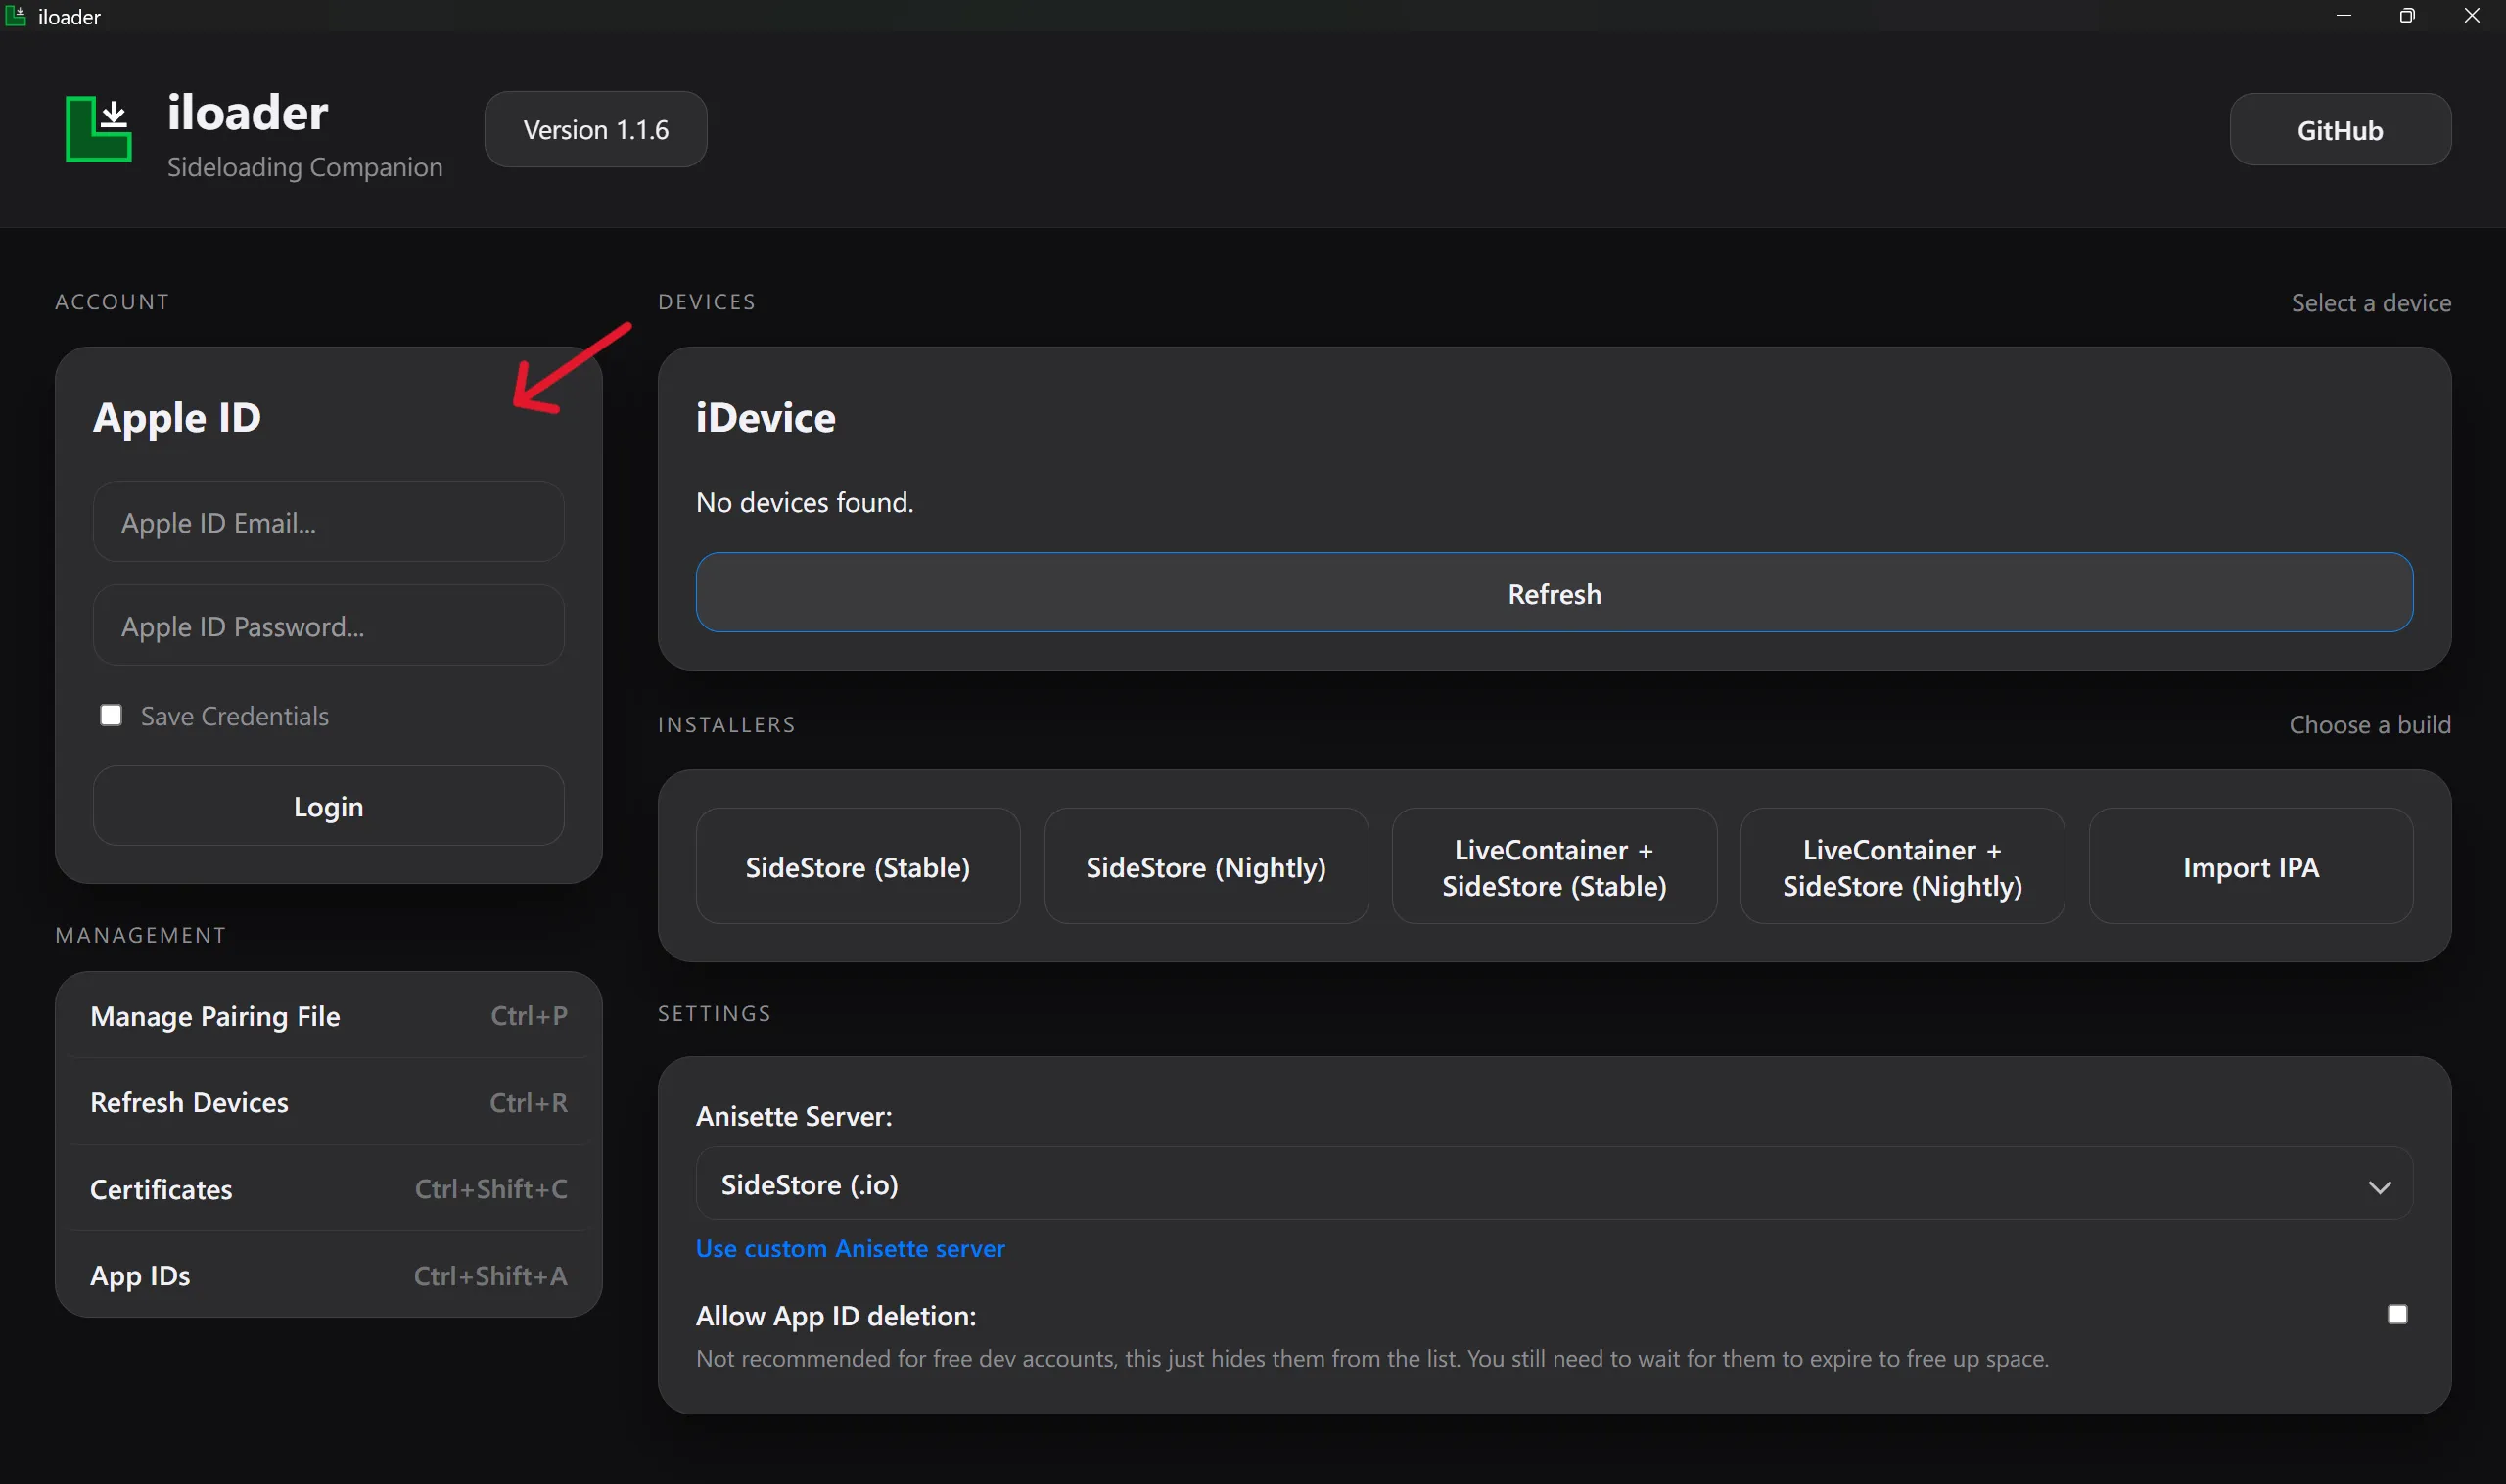
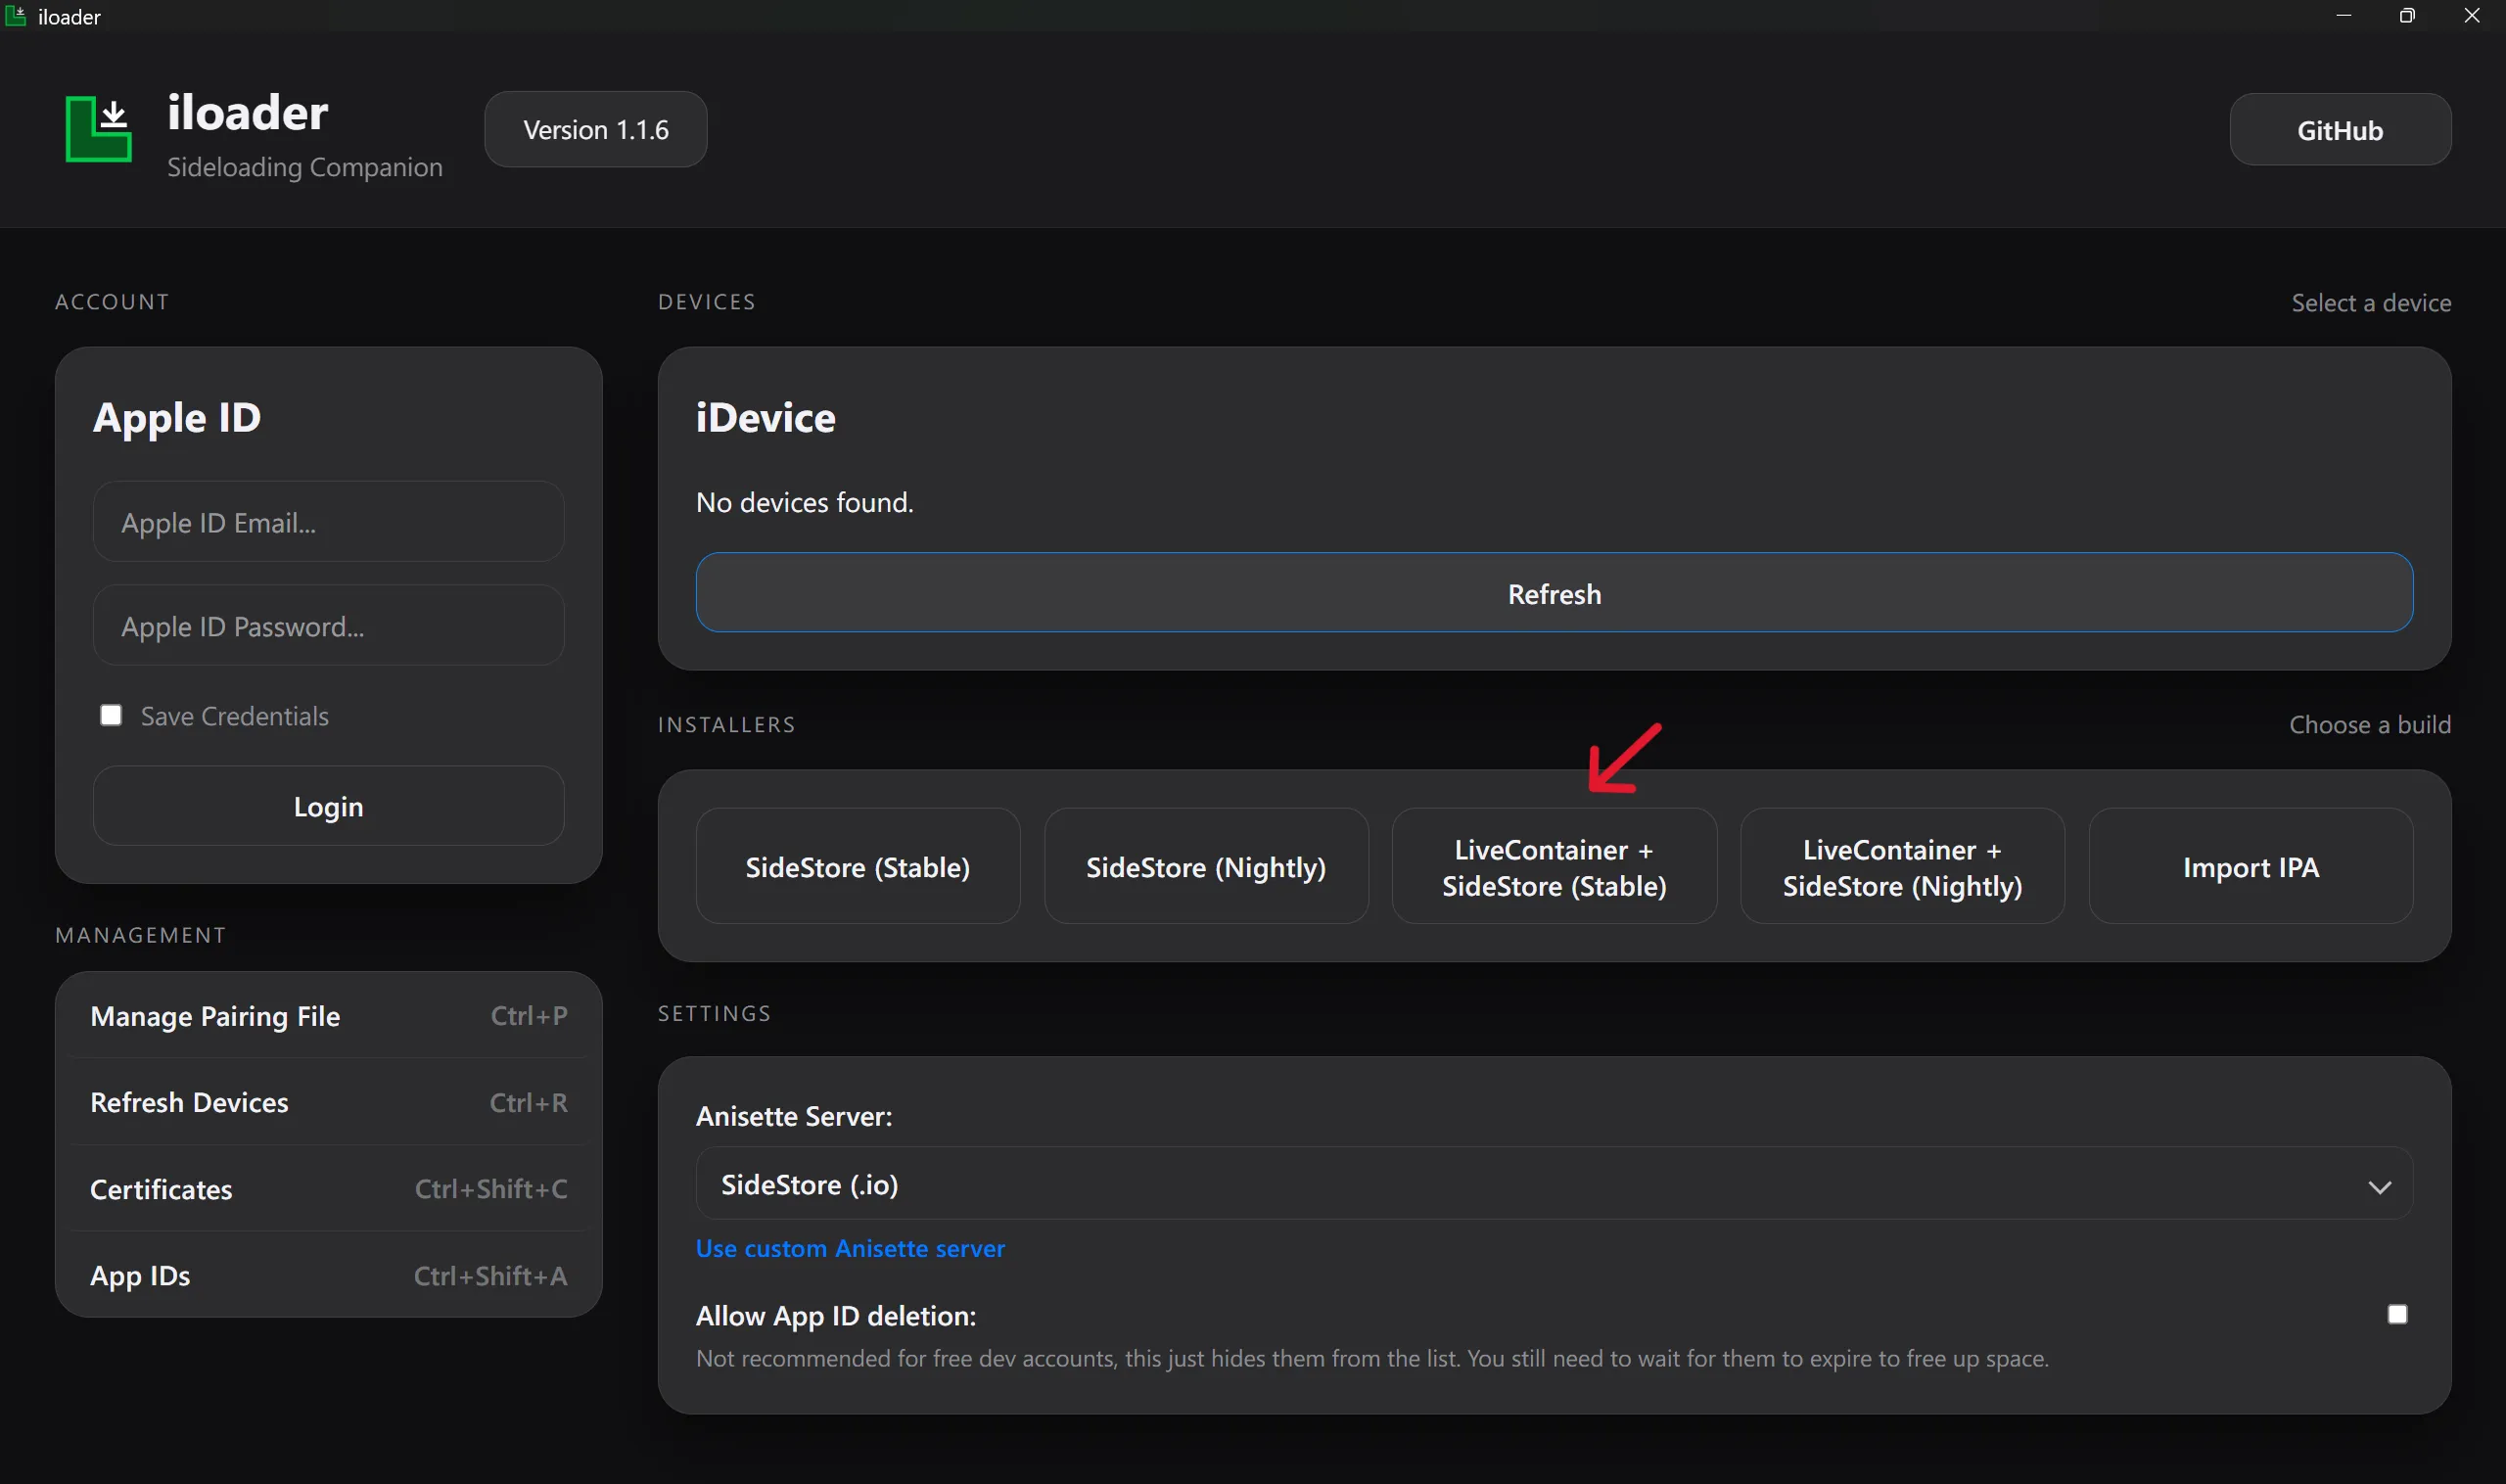
- Install LiveContainer and SideStore.
- Trust LiveContainer on the device:
- Open
Settings->General. - Go to
VPN & Device Management(older versions may show as “Profiles & Device Management”). - Click your Apple Account under
Developer App. - Click “Trust [your email]” and confirm.
- Open
Step 4: Configure LiveContainer and SideStore
Section titled “Step 4: Configure LiveContainer and SideStore”- Download LocalDevVPN.
- Keep LocalDevVPN running at all times.
- Open LiveContainer.
- Click the SideStore icon in the upper left corner. It is normal for it to crash on the first click.

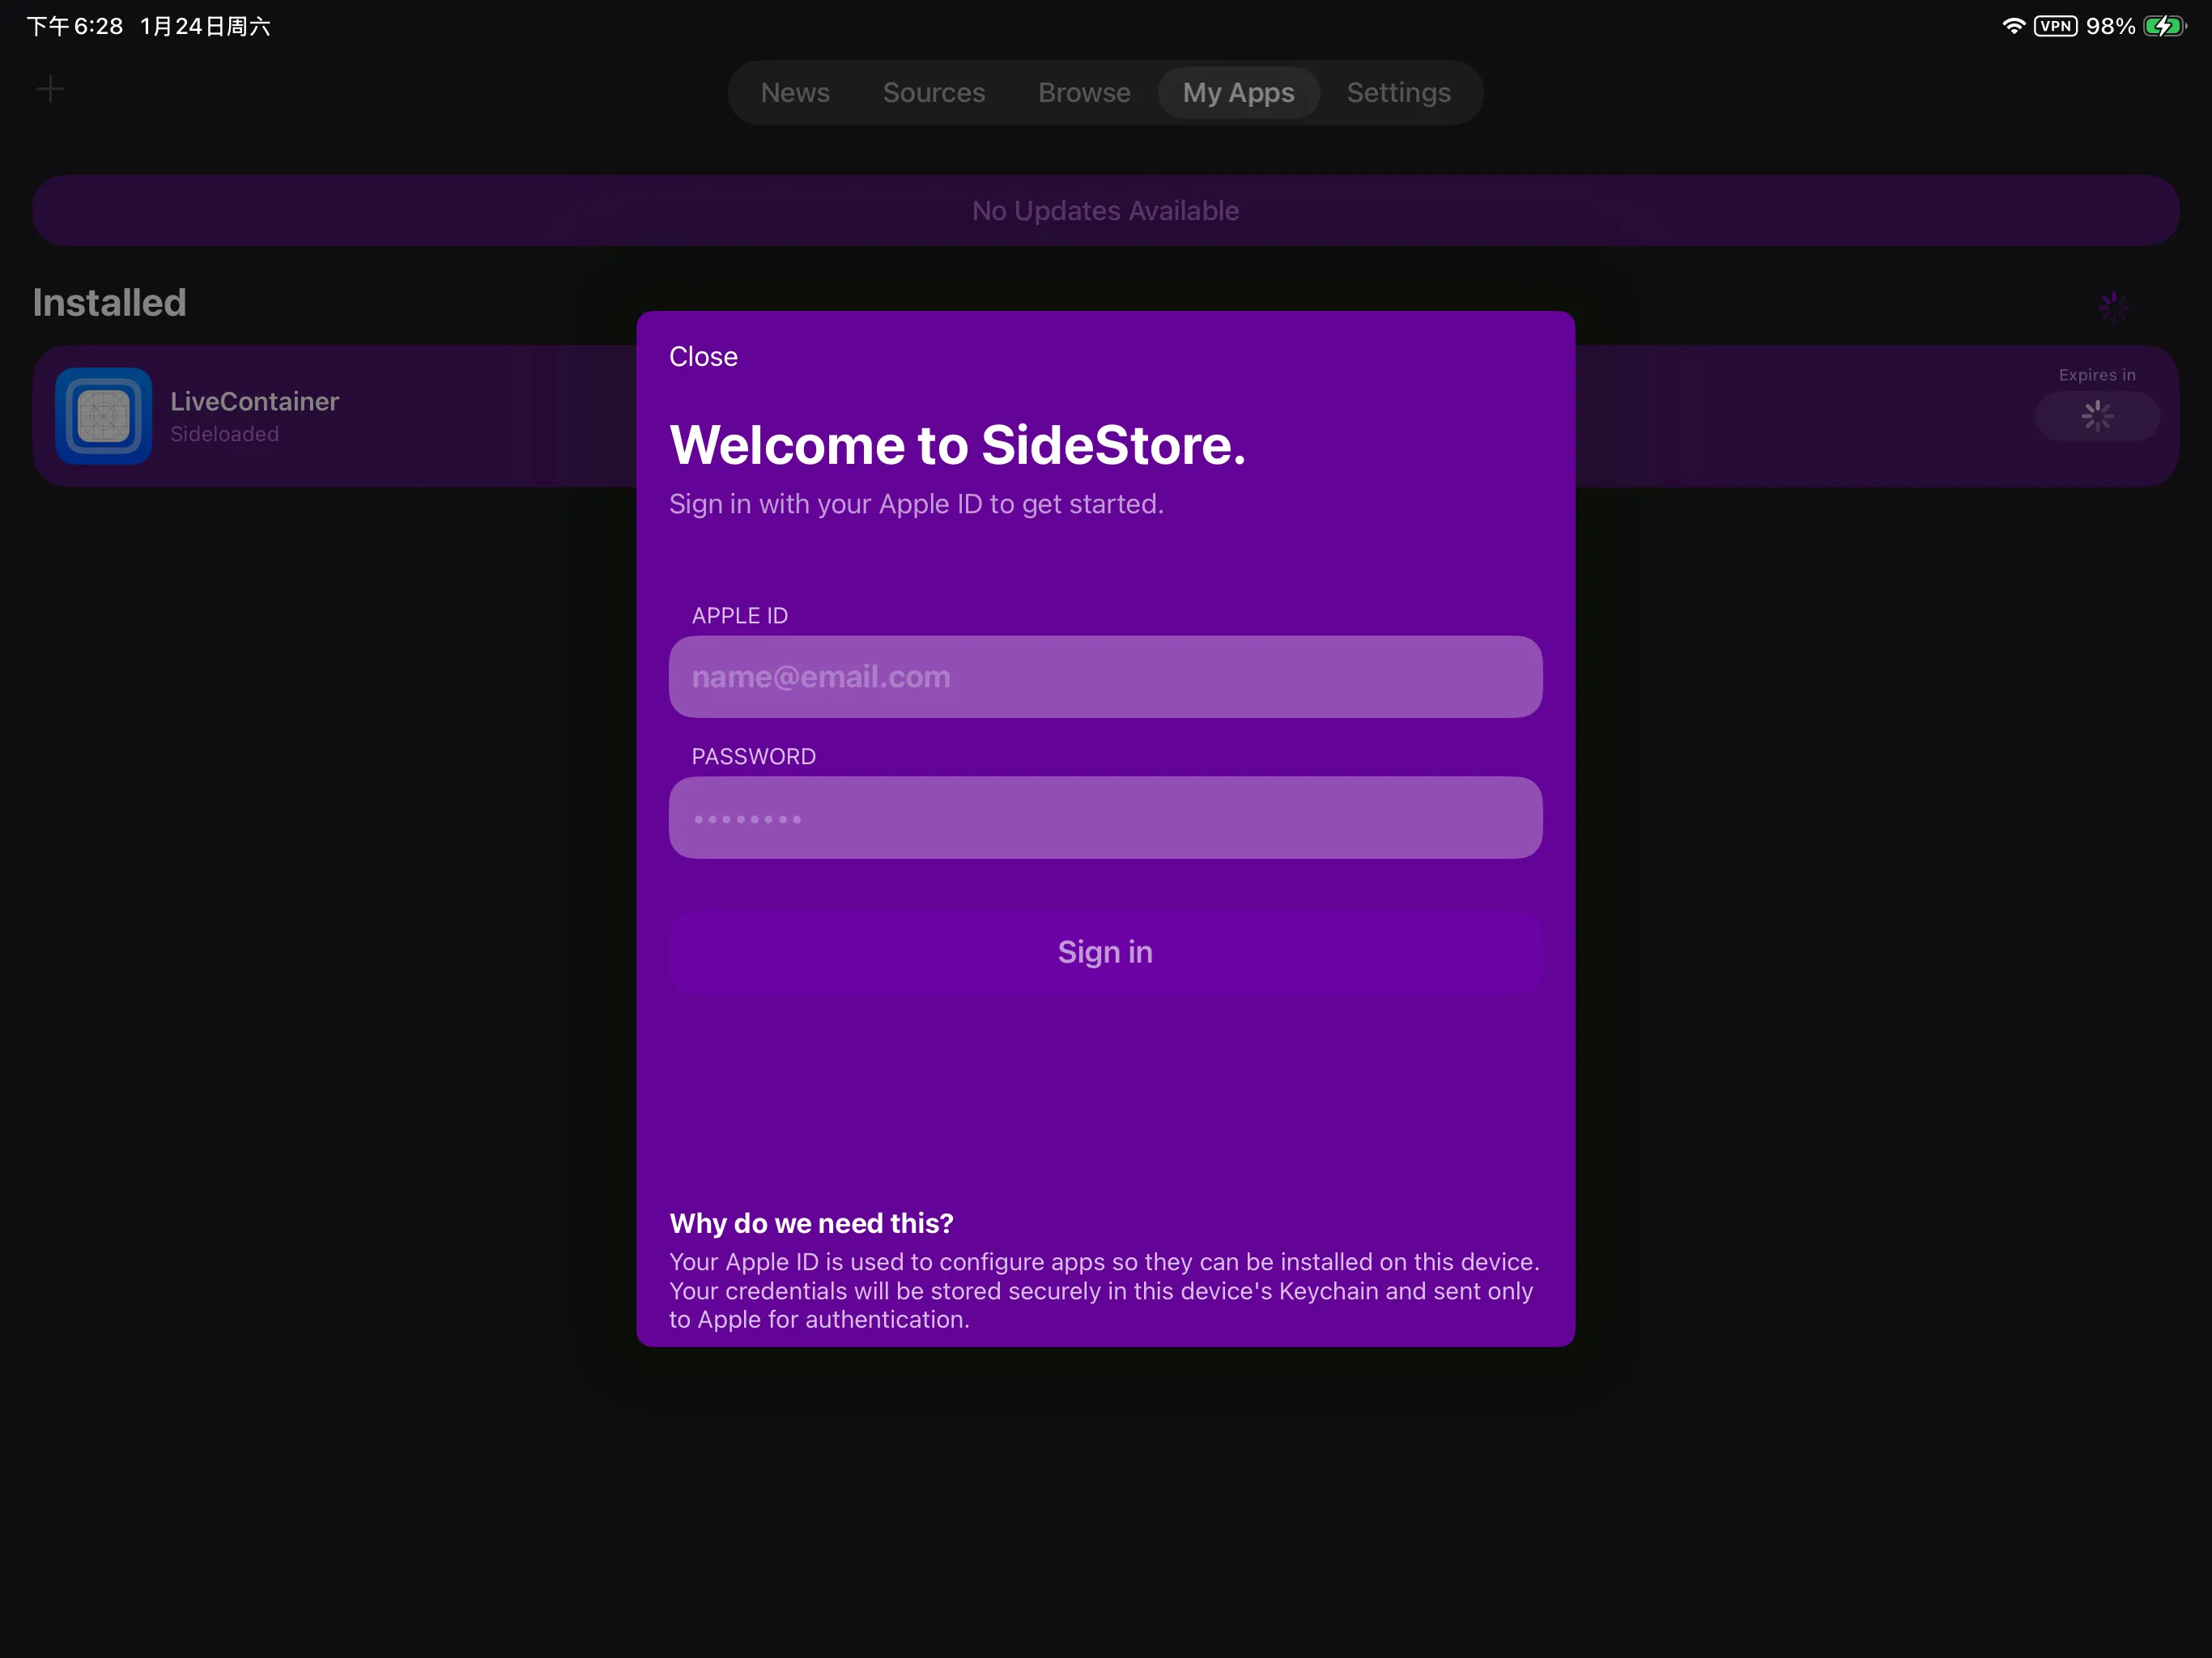
- Open SideStore and switch to the My Apps tab.
- Click
Refresh All, enter your Apple Account username and password.
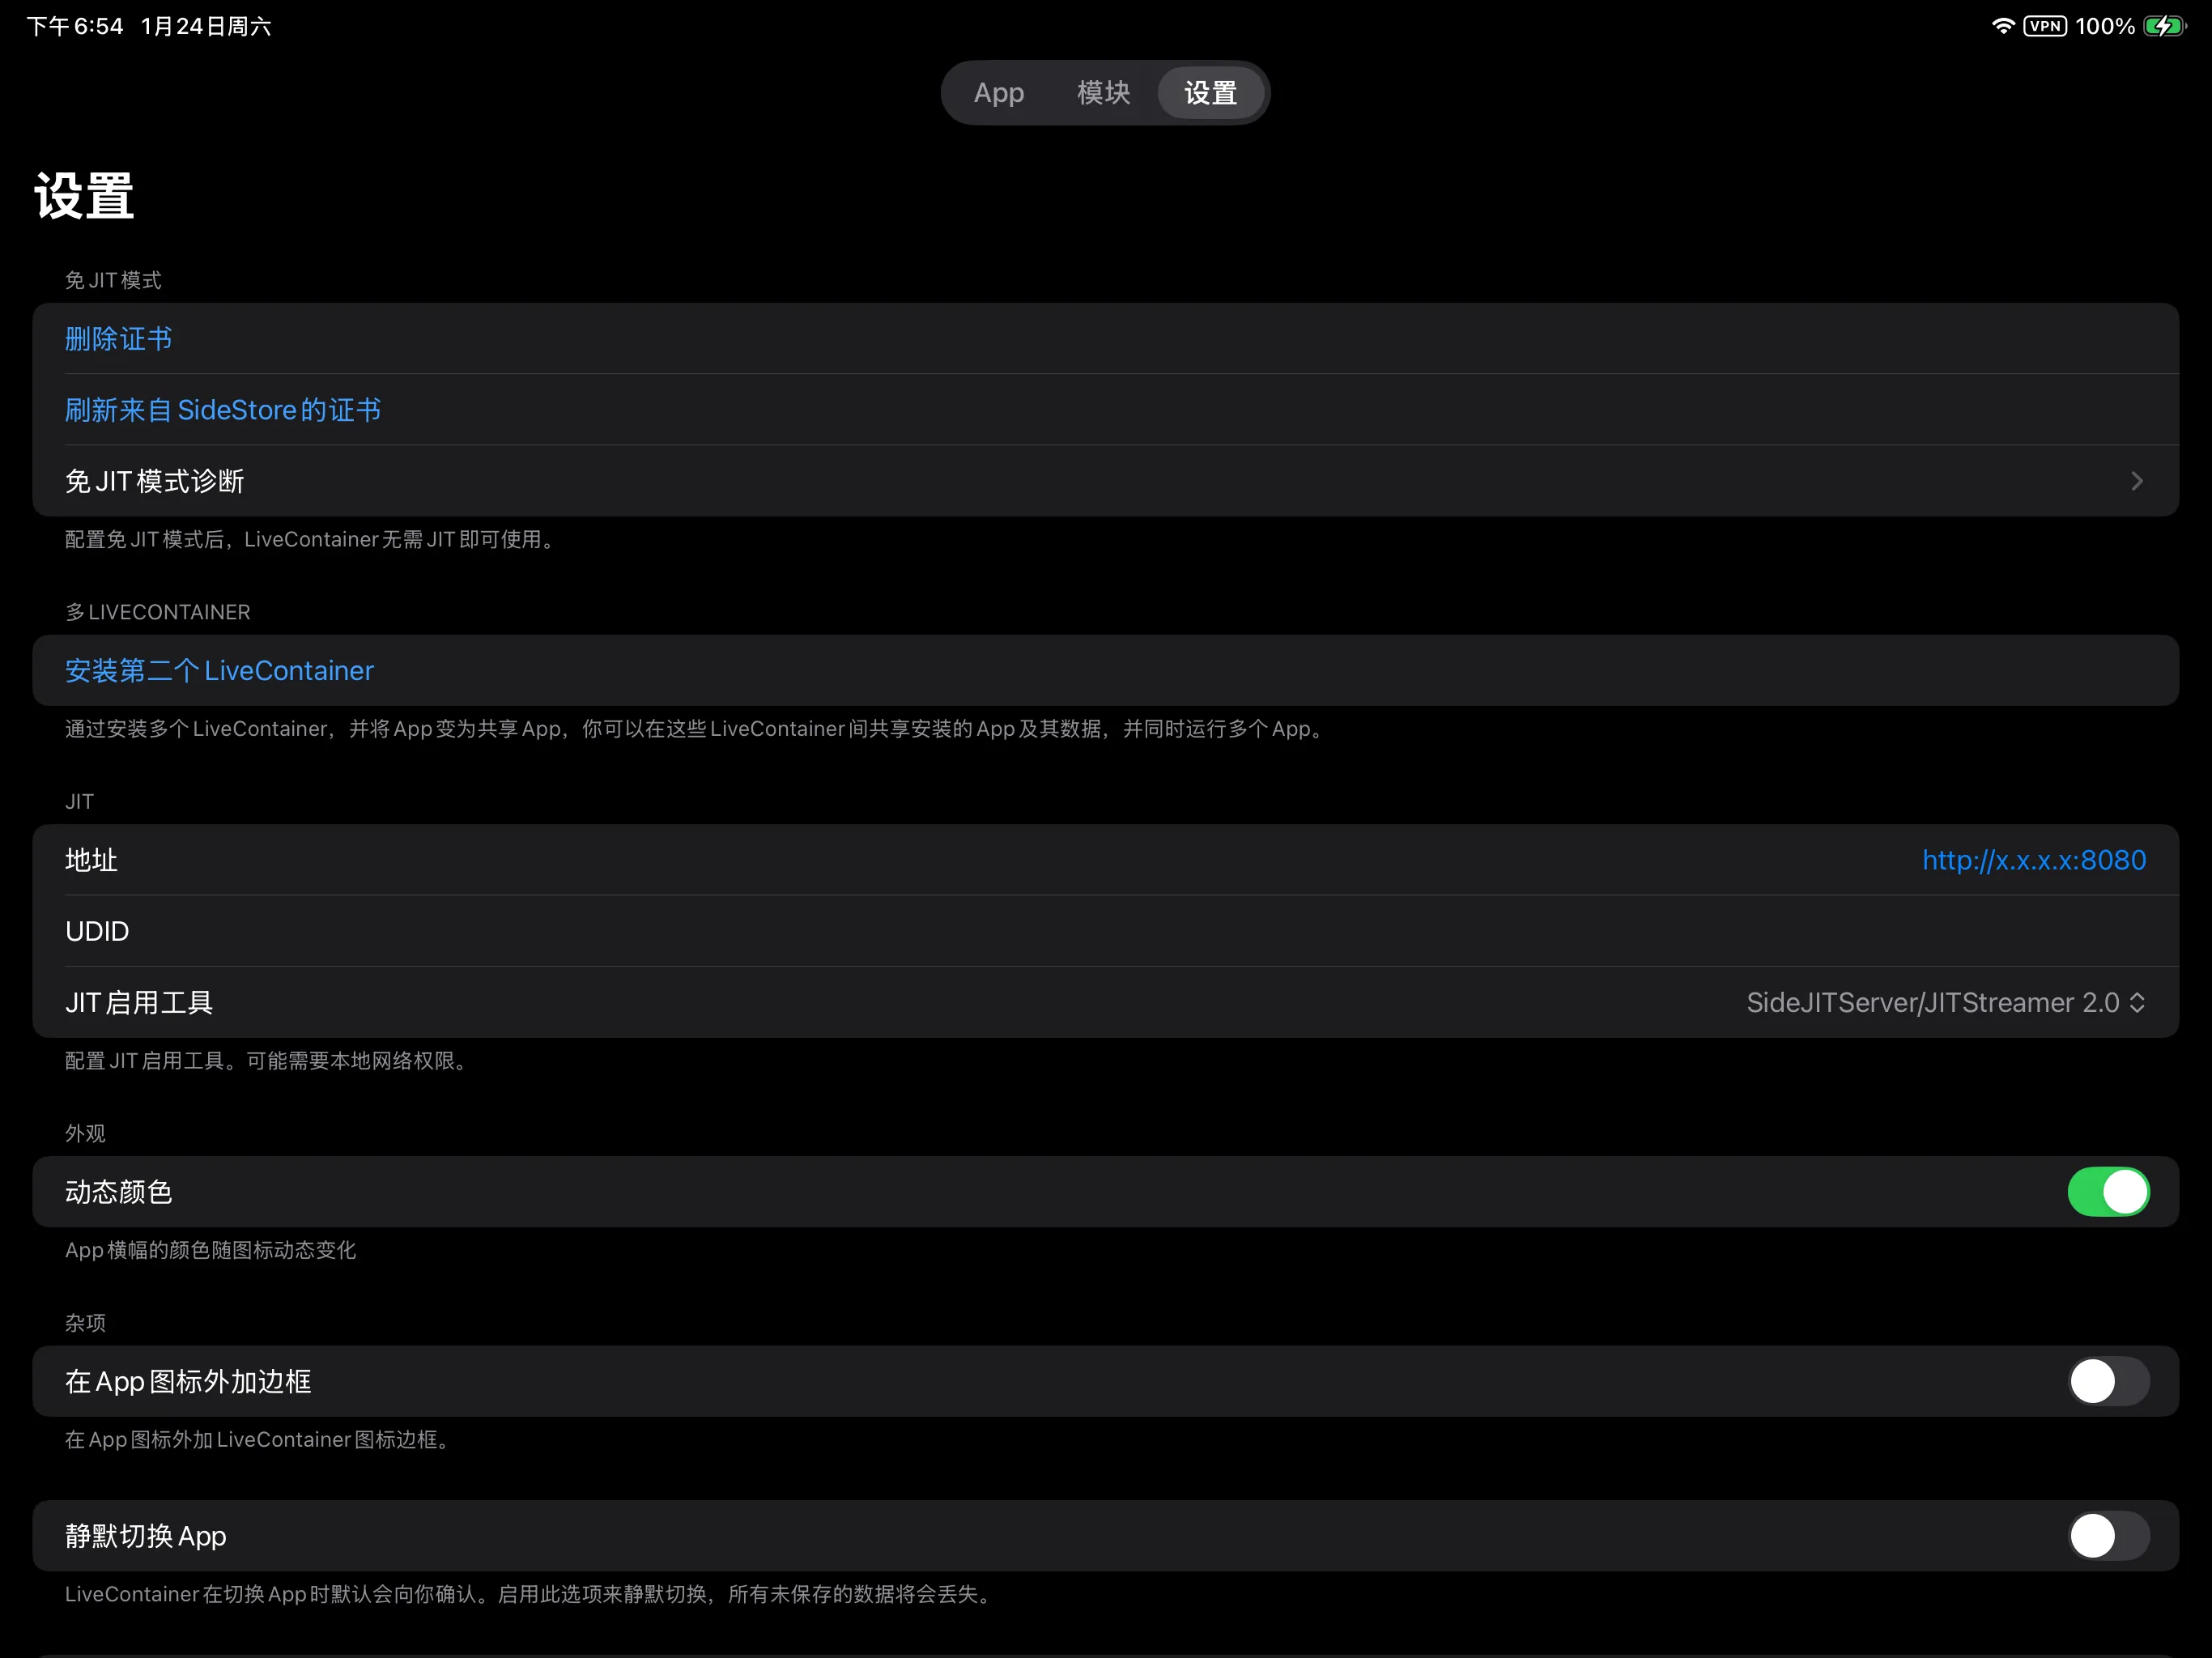
- Exit SideStore, re-enter LiveContainer, switch to the Settings tab, and click
Import Certificate from SideStore.
Step 5: Install Lyricify Mobile
Section titled “Step 5: Install Lyricify Mobile”- Send the
.ipafile to your phone, for example, via AirDrop or the “Files” app. - If you are currently in SideStore, please exit first, then re-enter LiveContainer.
- Click the upper left ”+” and select the
.ipafile to install.
Common Issues: “Untrusted Developer” Prompt
Section titled “Common Issues: “Untrusted Developer” Prompt”When starting for the first time, the system may prompt Untrusted Developer.
You can handle it by following these steps:
- Open
Settings->General. - Go to
VPN & Device Management(older versions may show as “Profiles & Device Management”). - Click your Apple Account under
Developer App. - Click “Trust [your email]” and confirm.
Privacy Notice
Section titled “Privacy Notice”This guide cannot guarantee the absolute security of your account. If you follow this guide for self-signing installation and incur unpredictable security consequences, you will bear the corresponding risks. Inputting and related operations involving sensitive information such as account and password are completed by you at your own discretion.